Homemade Lemon Jam Recipes: Bright, Zesty Preserves for Every Kitchen

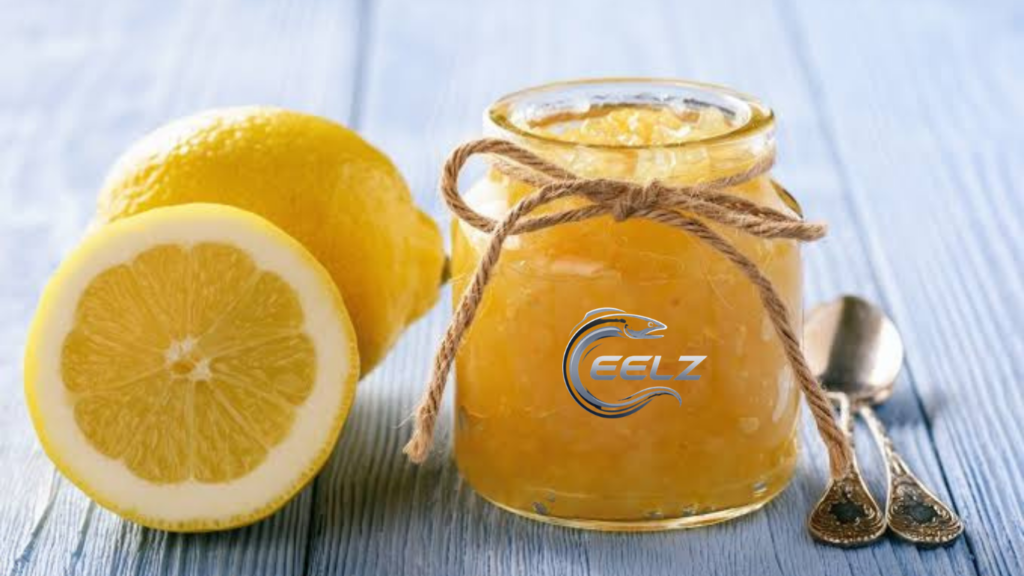
There is something deeply satisfying about a jar of homemade lemon jam. The sharp citrus aroma that fills the kitchen, the glossy golden colour, and that perfect balance of sweet and tart make it a preserve worth returning to again and again. Whether spread thickly on buttered toast, stirred into yoghurt or used as a filling for cakes, lemon jam brings a sunny lift to everyday meals.
In the UK, lemon jam sits comfortably alongside more traditional marmalades. Lemons are available year-round, so you need not wait for Seville orange season. With just a few simple ingredients and a little patience, anyone can produce jars that look and taste far better than most shop-bought versions. This guide explores reliable lemon jam recipes, practical techniques and ways to enjoy the finished result.
Understanding Lemon Jam and Marmalade
Lemon jam and lemon marmalade often overlap in home kitchens. Strictly speaking, jam tends to be softer and may include more pulp, while marmalade usually features thin shreds of peel suspended in a clear or semi-clear jelly. Many recipes labelled “lemon jam” produce a chunky, peel-inclusive preserve that behaves like a light marmalade.
Lemons contain natural pectin, especially in the pith and seeds, so commercial pectin is rarely required. The key is to extract enough of that pectin through careful preparation and cooking. Thick-skinned varieties work particularly well, though ordinary supermarket lemons give excellent results provided they are unwaxed or thoroughly scrubbed.
Choosing and Preparing Lemons
Select firm, bright lemons free from soft spots. Organic or unwaxed fruit is ideal because the peel is eaten. If only waxed lemons are available, wash them well in warm water and scrub gently to remove the coating.
Most recipes begin by slicing or chopping the fruit, removing seeds as you go. Some cooks soak the prepared lemons in cold water overnight, changing the water once or twice. This step softens the peel and reduces excessive bitterness from the white pith. Others prefer a shorter soak or none at all for a more intense citrus flavour. Taste a small piece of peel after soaking to judge the balance you prefer.
Sterilise jars and lids before you start cooking. Wash them in hot soapy water, rinse thoroughly, then place in a low oven (around 140 °C) for 15–20 minutes, or run them through a dishwasher cycle. Keep the jars warm until the jam is ready.
Classic Lemon Jam Recipe
This straightforward method yields a bright, chunky lemon jam with a good set. Quantities can be scaled up or down while keeping the same ratios.
Ingredients (makes approximately 4–5 medium jars)
- 1 kg unwaxed lemons
- 1.5–2 litres cold water (depending on soaking method)
- 1.5–2 kg granulated sugar (roughly equal to the combined weight of prepared fruit and cooking liquid)
Method
Wash the lemons thoroughly. Trim the ends, then slice thinly or cut into small cubes, removing seeds. Place the prepared fruit in a large bowl or preserving pan, cover with cold water and leave overnight if desired.
The next day, transfer the fruit and soaking liquid to a large heavy-based pan. Bring to a gentle boil and simmer until the peel is completely tender—this usually takes 45–90 minutes depending on the thickness of the slices. The peel should squash easily between finger and thumb.
Weigh the cooked mixture. Add an equal weight of sugar (or slightly less if you prefer a sharper result). Stir over low heat until the sugar has fully dissolved. Increase the heat and bring to a rapid rolling boil. Cook, stirring occasionally, until setting point is reached. This typically takes 15–30 minutes.
To test for a set, place a small plate in the freezer beforehand. Spoon a little jam onto the cold plate, wait a few seconds, then push it with your finger. If the surface wrinkles, the jam is ready. Alternatively, a sugar thermometer should read 104–105 °C.
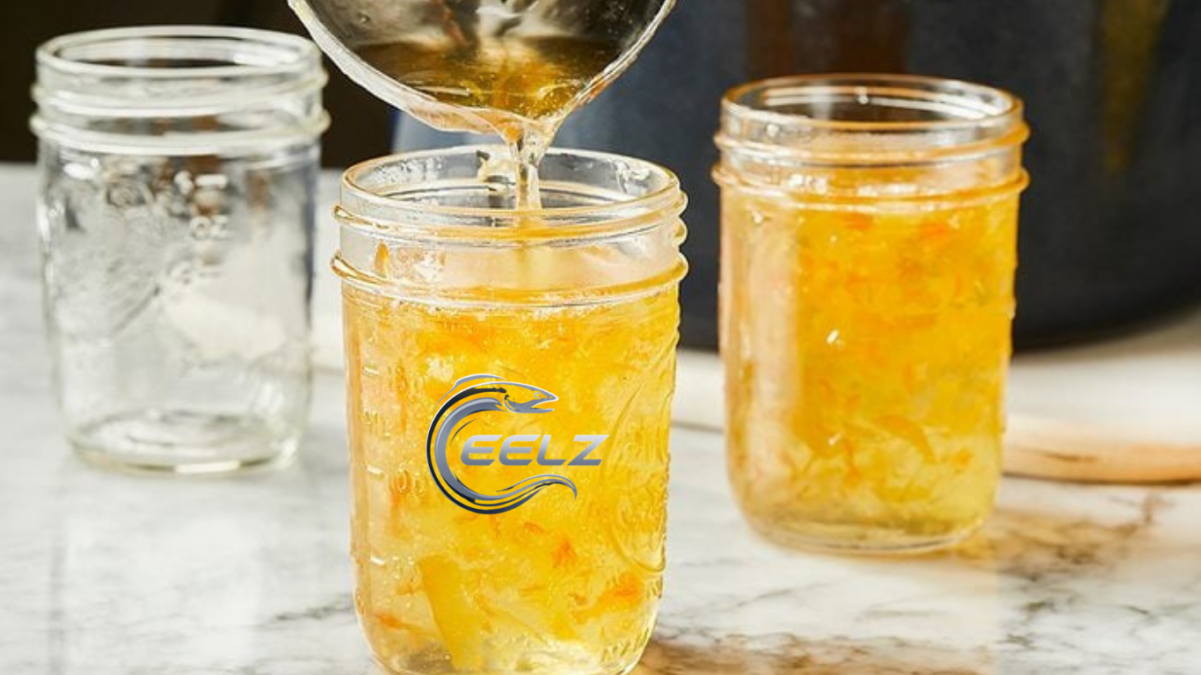
Remove from the heat, skim any foam, and leave to settle for five minutes so the peel distributes evenly. Ladle into warm sterilised jars, seal immediately and invert for a few minutes if using traditional lids. Label once cool.
The jam will continue to thicken as it cools. Store in a cool, dark cupboard for up to a year; refrigerate after opening.
A Simpler Two-Ingredient Approach
For those who prefer minimal fuss, a ratio-based method works well. Use thick-skinned lemons, juice them, and reserve the skins. Scrape out remaining pulp and membrane. Weigh the juice plus any water used, then add the same weight of sugar plus the weight of the prepared skins.
Simmer the sugar and liquid first to dissolve, then add the thinly sliced skins. Cook until the mixture reaches setting point, usually around 25 minutes of steady simmering after the sugar dissolves. The result is a chunky, intensely lemony jam that keeps well.
Tips for Perfect Texture and Flavour
Bitterness is the most common concern. Soaking, removing excess pith, or adding a small pinch of bicarbonate of soda during the initial boil can help, though many cooks find the natural bitterness of lemon peel balances the sugar attractively.
Foam forms readily during boiling. Skim it carefully for a clearer finish. Stirring too vigorously can incorporate air and cloud the jam, so keep movements gentle once the sugar is added.
If the jam refuses to set, return it to the pan with a little extra lemon juice and boil again for a few minutes. Overcooking, on the other hand, can produce a very firm or crystallised result, so test frequently once the mixture begins to look glossy.
Sugar type matters less than accurate weighing. Granulated sugar dissolves reliably and produces a clear preserve. Caster sugar works too, though it may dissolve faster.
Variations on the Basic Theme
Once comfortable with the classic method, small changes open new possibilities. Add a couple of tablespoons of finely grated fresh ginger during the final boil for a warming note. A splash of elderflower cordial or a few leaves of lemon verbena infused and removed before potting gives a floral lift. For a softer set suitable for spooning over ice cream, reduce the sugar slightly and cook for a shorter time.
Some cooks combine lemon with a little orange or grapefruit for a mixed citrus jam. Others stir in a handful of raisins or chopped crystallised ginger at the end for texture. Always maintain enough acidity and pectin for a safe set when adding lower-pectin ingredients.
Lemon jam also partners beautifully with other preserves. A spoonful stirred into apple or rhubarb jam brightens the flavour without dominating.
Storage, Safety and Serving Ideas
Properly sealed jars of lemon jam keep for many months in a cool cupboard. Once opened, refrigerate and use within a few weeks. Always check for signs of spoilage—mould, off smells or unusual texture—before eating.
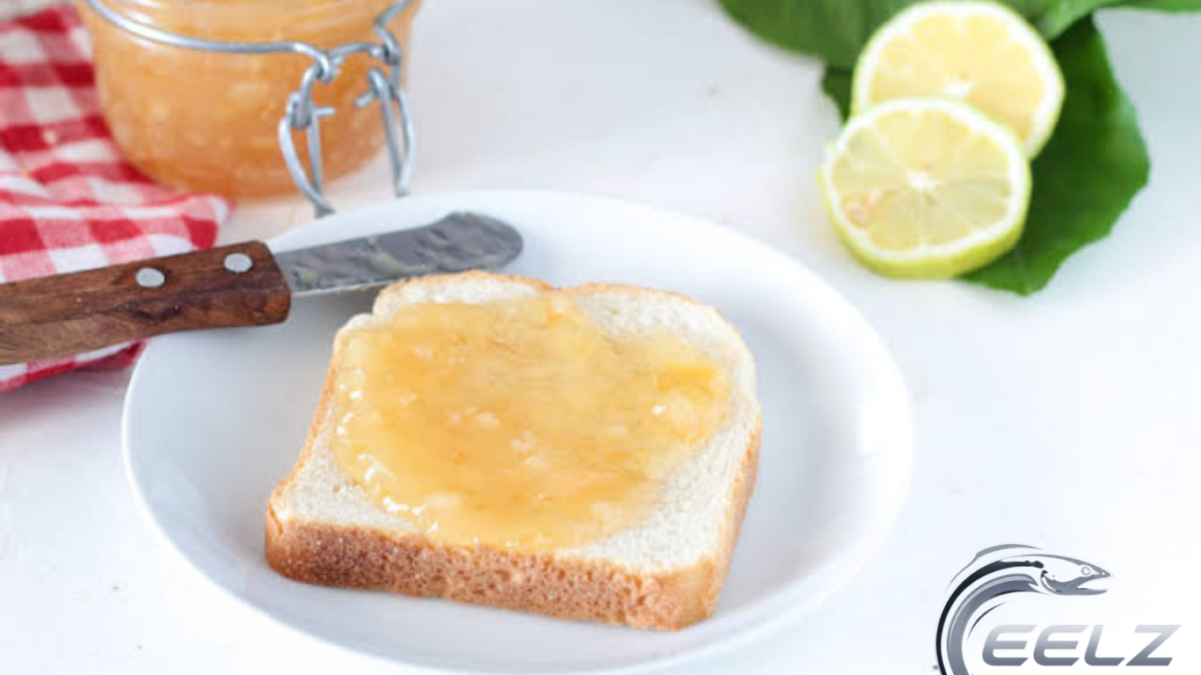
Beyond toast and scones, lemon jam has many uses. Swirl it into plain yoghurt or porridge. Use it as a filling for Victoria sponges, Swiss rolls or thumbprint biscuits. Warm a spoonful and drizzle over pancakes or waffles. Stir a little into salad dressings for roasted vegetables or use it to glaze chicken or fish in the final minutes of cooking. It makes an excellent accompaniment to strong cheeses or a simple topping for cheesecake.
In baking, lemon jam can replace some of the liquid in muffin or loaf recipes, adding moisture and flavour. A thin layer sandwiched between shortbread rounds creates an elegant afternoon-tea biscuit.
Common Questions Answered
Do I need pectin?
Usually not. The natural pectin in lemon peel and pith, combined with the right sugar ratio and acid, produces a reliable set.
Can I reduce the sugar?
Sugar acts as both sweetener and preservative. Significant reductions may affect shelf life and set. For lower-sugar versions, refrigerate the jam and use it within a shorter period, or explore recipes specifically designed for reduced sugar.
Why is my jam bitter?
Excess white pith or insufficient soaking are the usual causes. Next time, remove more pith or extend the soaking period, tasting as you go.
How long does it take from start to finish?
Active cooking time is often under two hours, but overnight soaking and cooling add to the overall process. Plan ahead for the best results.
Conclusion
Lemon jam belongs to a long tradition of British home preserving. Generations of cooks have turned surplus fruit into jars that brighten winter breakfasts and summer afternoon teas. Its simplicity—fruit, sugar, water and time—keeps it accessible, while the bright flavour ensures it never feels ordinary.
In an era of mass-produced spreads, making your own lemon jam reconnects the cook with the seasons and the satisfaction of self-reliance. A single batch can fill several jars, ready to give as gifts or to enjoy throughout the year.